How Do You Add Captions to a Video? 4 Methods That Work in 2026
To add captions to a video, you either upload a caption file (SRT or VTT) to the platform, so viewers can switch them on and off, or burn the captions into the picture so they always show. On YouTube, open YouTube Studio, go to Subtitles, pick the video, add a language, then upload a file, paste a transcript and use Auto-sync, or type them while it plays. For TikTok, Reels and Shorts, most people burn in styled captions with an editor or an AI tool that times each word to the speech.
Which one you want depends on where the video goes. The rest of this post covers each method, then the style rules that make captions readable.
How to add captions to clips in Rend, step by step
These screenshots come from Rend's demo of clipping a podcast; your own project works the same way.
1. Drop in the episode and example clips. Add the full episode (here a 1 hour 12 minute podcast) and a few clips you like, then ask Rend to find the best moments and clip them like those.
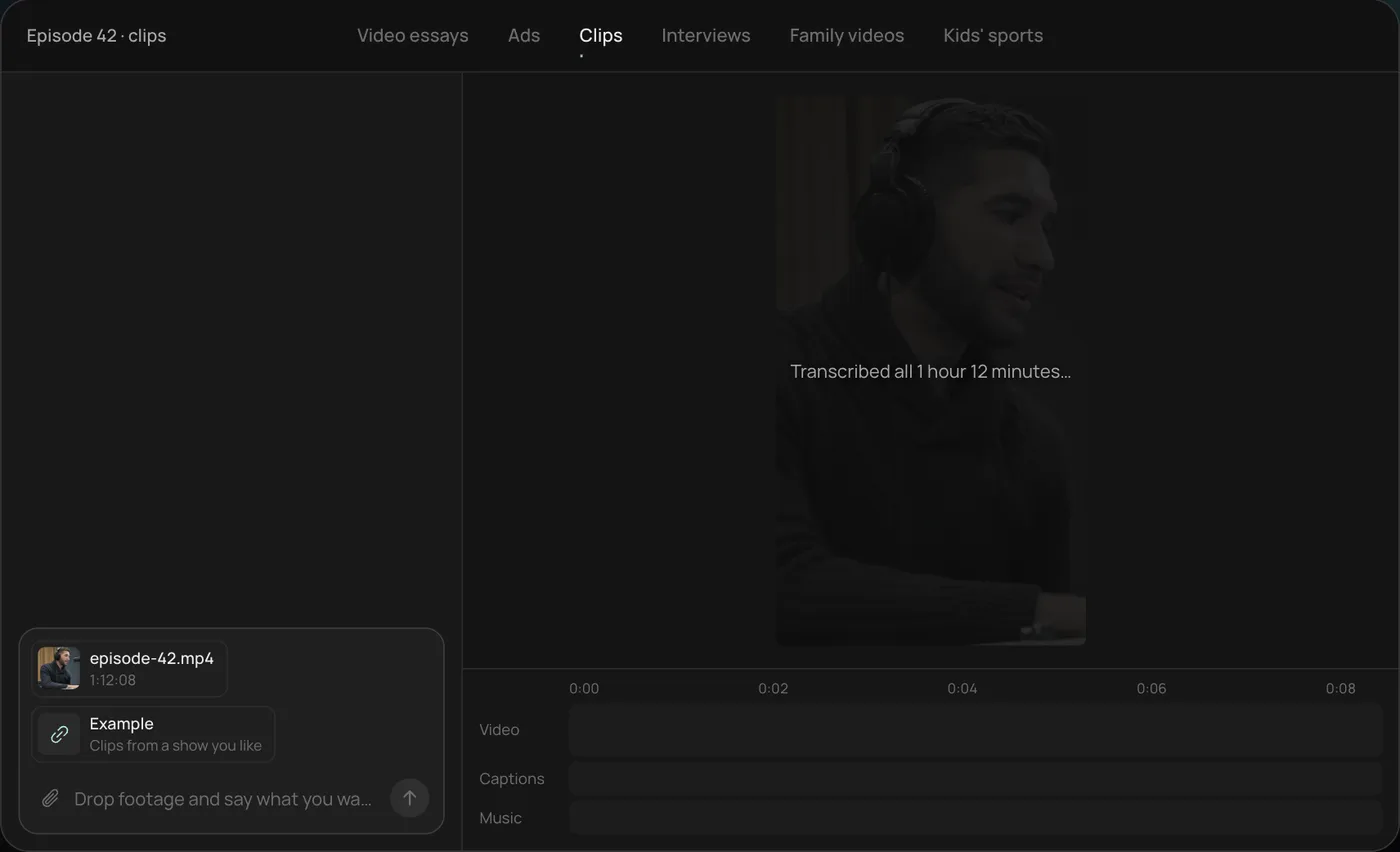
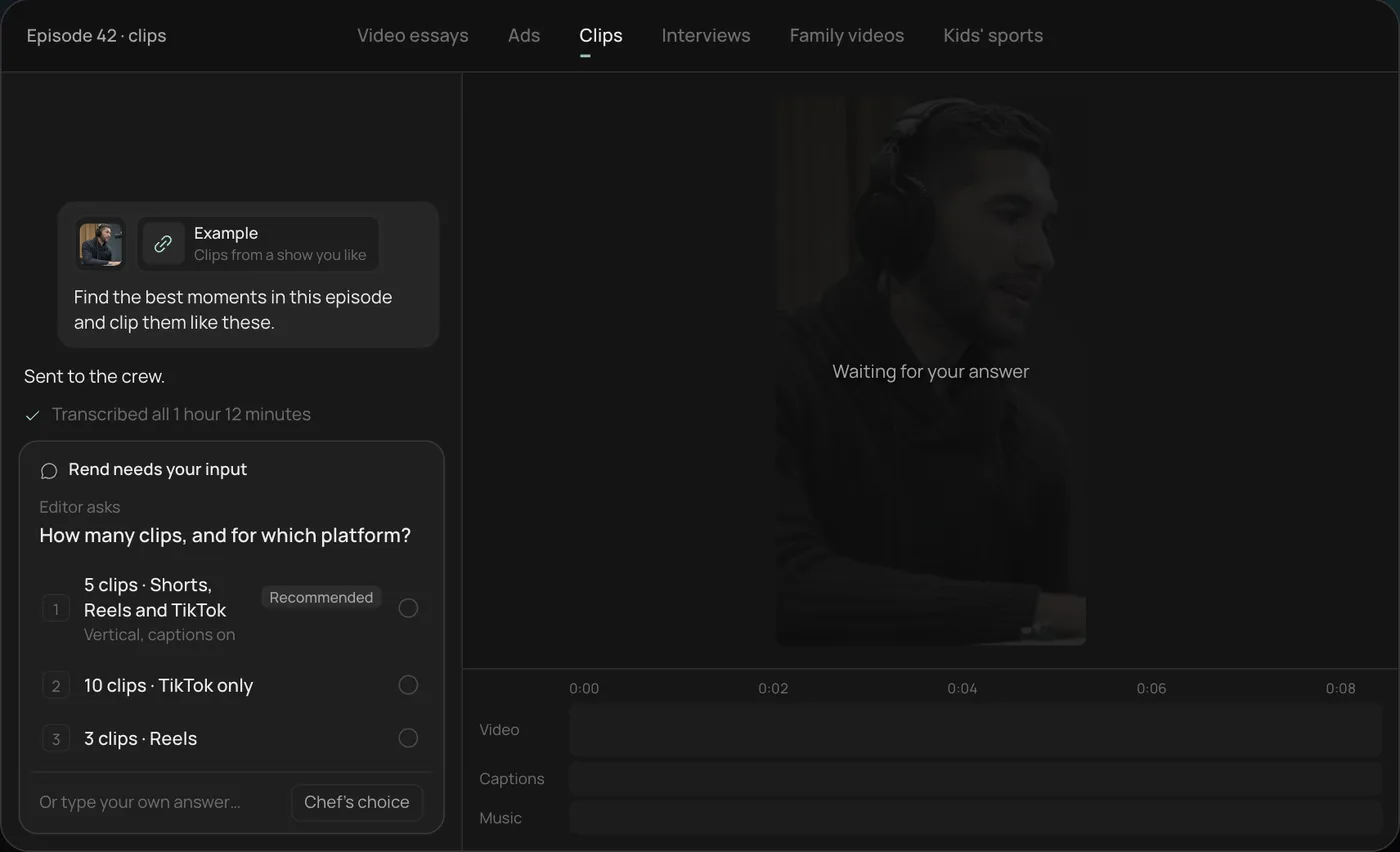
2. Pick how many clips and where. Rend asks how many clips you want and for which platform, and recommends five vertical clips for Shorts, Reels and TikTok.
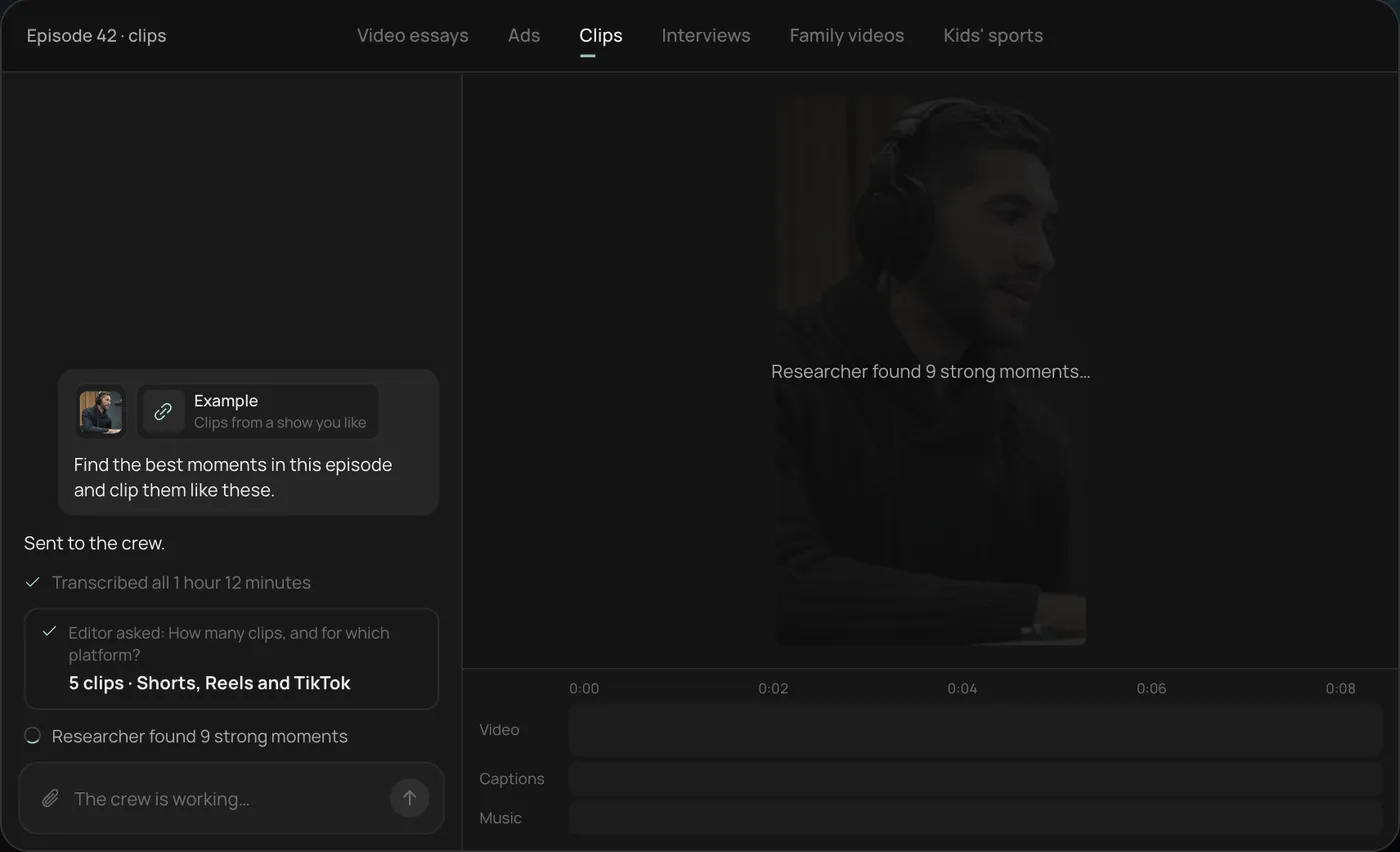
3. Watch the crew work. Rend transcribes the episode and a researcher finds the strongest moments, each step checked off in the chat.
4. Get the clips. Five vertical clips of 28 to 55 seconds land on the timeline, with word-by-word captions on their own track that you can still edit.
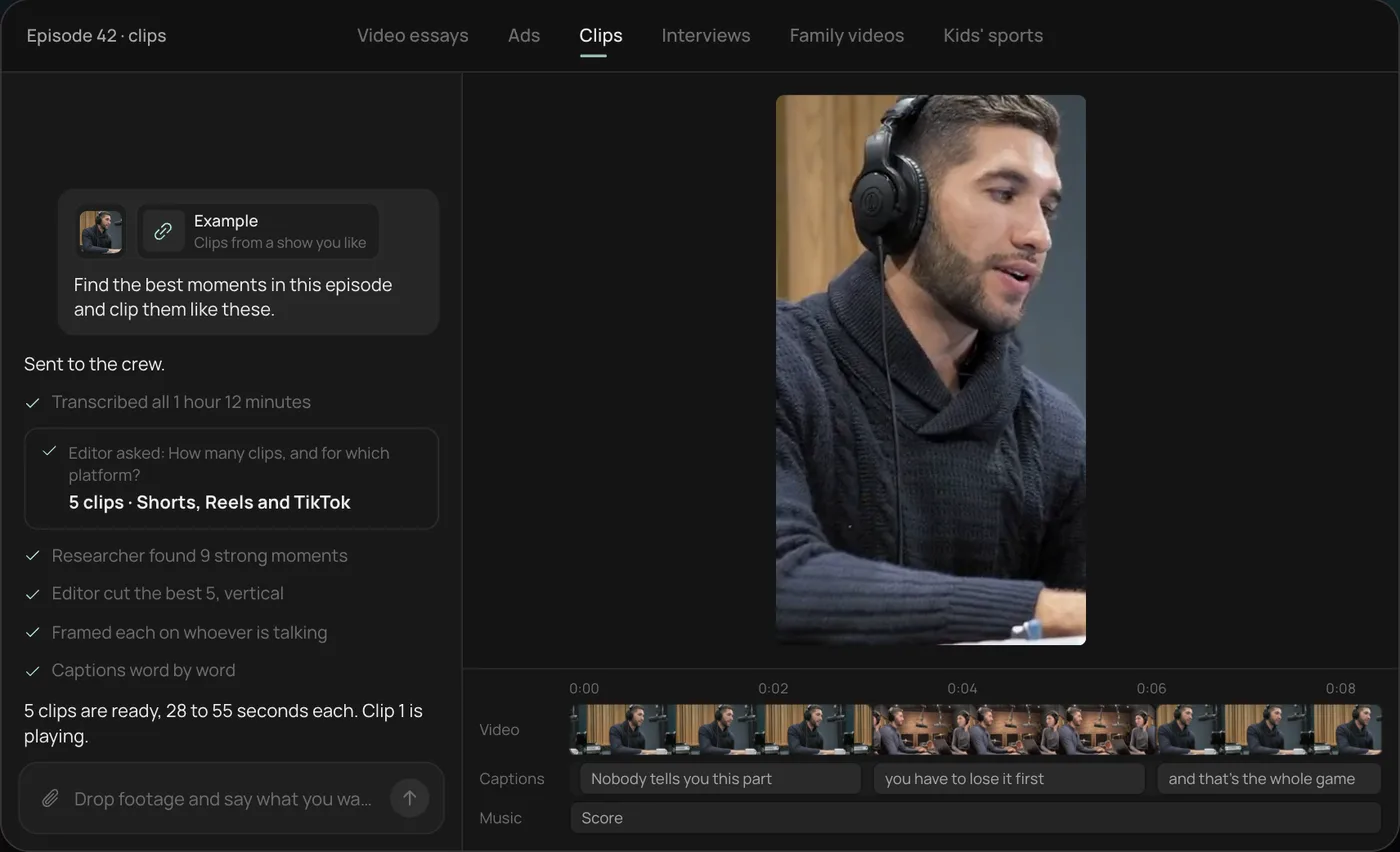
From there you can open the timeline and change anything by hand, share a review link for notes, or export. Start a free Rend project to try it on your own footage.
Closed captions or burned-in captions
| Closed captions (a file) | Burned-in (open) captions | |
|---|---|---|
| Viewer can turn off | Yes | No |
| Searchable by the platform | Yes | Not as text |
| Multiple languages | Easy, one file each | One per export |
| Styled (fonts, colors, animation) | No, the player decides | Yes |
| Where it fits | YouTube long-form, courses, websites | Shorts, Reels, TikTok, ads |
For YouTube long-form, do both if you can: a clean caption file for accessibility and search, and no burned captions unless your style calls for them. For vertical social video, burned-in captions are the norm because most people watch with the sound off at first.
Method 1: Upload a caption file to YouTube
This gives you the most accurate result.
- Sign in to YouTube Studio on desktop.
- Click Subtitles in the left menu and choose the video.
- Click Add language and pick one, then Add under subtitles.
- Choose Upload file and pick your SRT or VTT. You can upload with timing, or without timing and let YouTube set it.
- Check it in the preview and click Publish.
You can also add subtitles while uploading a new video, in the Video elements step.
If you have an accurate script but no timing, choose Auto-sync instead, paste the transcript, and YouTube times it to the audio. If you have nothing, YouTube makes automatic captions for free; they're usable but you should edit names, numbers and jargon, which is where they go wrong.
An SRT file looks like this, if you ever need to fix one by hand:
1
00:00:00,000 --> 00:00:02,400
We tested every caption style

2
00:00:02,400 --> 00:00:05,100
so you don't have to.
Method 2: Auto-captions inside the social apps
TikTok, Instagram and YouTube Shorts all offer automatic captions in the app. They're fast and fine for casual posts. The tradeoffs: limited styling, and you'll be fixing misheard words on your phone. If captions are part of your brand look, use method 3 or 4.
Method 3: Burn in styled captions with an editor
CapCut, Premiere Pro, Descript, DaVinci Resolve and most other editors can transcribe the audio, generate captions on the timeline and let you style them. The general flow is the same everywhere:
- Import the video and generate captions from the audio.
- Read the transcript and fix errors. Names, brands and numbers first.
- Pick a style: font, size, color, outline or box, position.
- Split long lines so each caption is a few words.
- Export with captions burned in.
This works well and gives you full control. It's also slow to do across many videos, and the style tends to drift between editors and episodes.
Method 4: Let an AI agent time and style them
In Rend, captions are part of the edit. Send the video (in chat, by email, or a web form from your phone) and say what you want: "word-by-word captions, our brand font, current word highlighted, keep them above the bottom 20%." Rend transcribes with speakers, times captions to each word, and places them on the timeline, where they stay editable. You can change a word, the font or the position at any time, and the fix lands everywhere it should.
Save the look in a brand kit and every episode, Short and ad gets the same captions without anyone setting them again. That consistency is most of what makes a channel look professional. Editing is free; you pay when it renders. See pricing.
Want to try looks before you commit? Our free caption style previewer shows popular styles on a sample frame.
Caption style rules that hold up
These come from cutting a lot of short-form and watching what people actually read.
Size. On a 1080-wide vertical video, caption text around 60 to 80 pixels tall reads on a phone. Smaller and people squint; bigger and it covers faces.
Words per caption. One to four words for fast-paced Shorts and ads, up to about 7 for slower, talky content. Long-form YouTube files can run two lines.
Position. Keep vertical captions out of the bottom fifth and the right edge, where the like, comment and share buttons sit. The video ad size checker shows the safe zones for each platform. A spot about a third up from the bottom works on almost every app.
Contrast. White with a dark outline or shadow is the safe default. A solid box behind the text is the most readable on busy footage.
Highlighting. Highlighting the current word helps retention on short-form. Use one highlight color, not a rainbow.
Emoji and effects. A little goes a long way. Bouncing captions with an emoji on every line is the look people now associate with low-effort AI clips. We wrote about that in AI video editors that don't look like AI.
Accuracy. Burned-in captions with typos can't be switched off. Proofread names and numbers every time.
A worked example: one clip, two outputs
Say you recorded a 9-minute YouTube tutorial and want a 40-second Short from it.
For the long version, export a clean SRT from your editor (or let YouTube Auto-sync your script), upload it in Studio, and burn nothing in. Viewers who want captions turn them on, and the text helps YouTube understand the video.
For the Short, pick the strongest 40 seconds, reframe to 9:16, and burn in captions of two to three words each, with the current word highlighted, sitting about a third of the way up the frame. Because the Short starts muted for most viewers, the first caption has to carry the hook on its own: "This cut saves you an hour" reads in under a second, while "So today I wanted to show you something" loses them.
Same recording, same words, two very different caption jobs. Treat them separately and both get better.
A quick checklist before you post
- Every name, brand and number spelled right?
- No caption sits under a platform button?
- Each caption on screen at least about a second?
- Readable on your phone at arm's length, on the busiest shot?
- On YouTube: a caption file uploaded too, for accessibility and search?
FAQ
How do I add captions to a video for free?
YouTube Studio's automatic captions, Auto-sync and file upload are all free. TikTok, Instagram and Shorts have free in-app auto-captions. Free editors like CapCut and DaVinci Resolve can burn captions in.
What's the difference between captions and subtitles?
Captions transcribe the audio for people who can't hear it, often including sound cues. Subtitles translate or transcribe dialogue for people who can hear but don't understand the language. Platforms often use the words interchangeably.
Should I use an SRT file or burned-in captions?
SRT (or VTT) for YouTube long-form, courses and websites, so viewers can turn them off and the text is searchable. Burned-in for Shorts, Reels, TikTok and ads, where styling matters and most viewers start muted.
How do I add captions to a video on iPhone?
Use the in-app auto-captions in TikTok, Instagram or YouTube when you post, or a phone editor such as CapCut. Or send the video to Rend from your phone and get styled, word-timed captions back.
Can I edit AI-generated captions?
You should, at least for names and numbers. In Rend, captions are always editable on the timeline after they're made.
For more on short-form workflows, see podcast clips and Submagic alternatives. When you're ready, start free on Rend and send one video you want captioned.